Huawei B535 modem guide
In this article
Getting Started
What’s in the box
- 1 x Huawei B535 4G modem
- 1 x Power supply
- 1 x AC cable
- 1 x Modem stand (grey)
- 1 x Quick start guide
- 1 x Warranty and safety cards

Step 1: Position your modem
Unbox your Huawei B535 4G modem and attach the grey stand to help it stay upright.
Place your modem in an open area with access to a power outlet.
TIP: For a strong signal, position your modem near a window or on a windowsill.
Avoid placing your modem behind books on a shelf, inside any metal cabinet, or under furniture.

Step 2: Plug in and power up
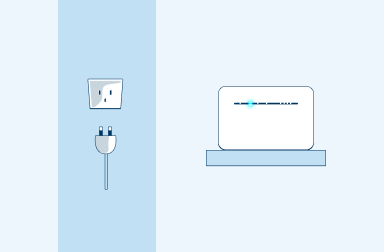
Plug in the power adaptor into the back of your modem, connect the other end into a power outlet and turn it on.
Wait 30-60 seconds for the lights on your modem to come on.
Look for the white light bars on the right-hand side of your modem. More bars indicate a stronger signal.
Step 3: Connect to WiFi
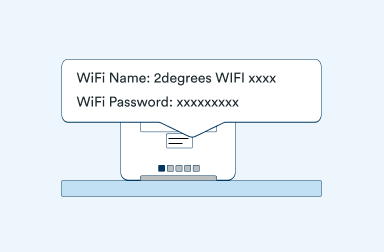
To connect, find the WiFi connection on your mobile, tablet or computer (WiFi connection name will begin with 2degrees). Then enter the WiFi password - located on the back of your modem.
Advanced Settings
Help with managing the trickier bits of your modem like changing passwords, resetting your modem and more.
Step 1: Open your phone’s camera app

Step 2: Point the camera at the WiFi QR Code
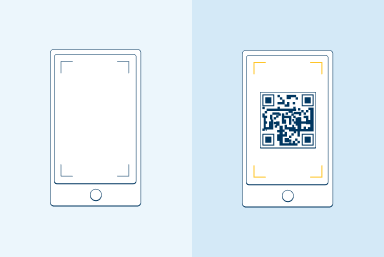
Step 3: Tap on the notification banner to join the WiFi network
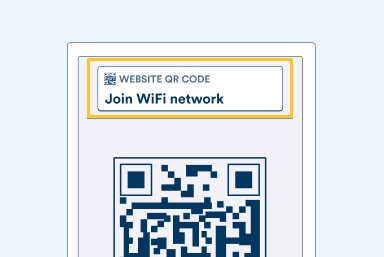
Step 4: Follow the instructions on the screen to finish signing in

Follow these steps to factory reset your modem. Please note that doing this will restore any changes you’ve made to the modem’s settings back to default. This includes your Wi-Fi name and password.
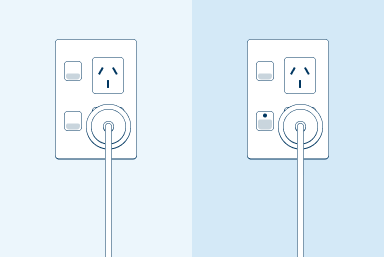
Step 1: Power on your modem
Step 2: Place a paper clip or pin into the hole on the bottom of the modem - labeled Reset
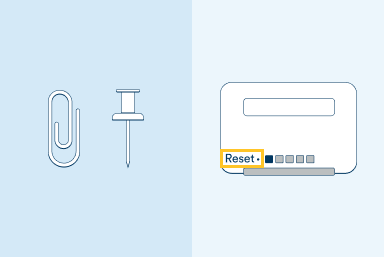
Step 3: Hold the paper clip or pin down for 3 to 5 seconds and release

Step 4: The modem will reboot on its own
Now, your modem will automatically reset and reboot. All data and settings saved on the Huawei B535 will be deleted. You can now login with default details, which are written on the device.

Reset complete
If you’re still experiencing issues connecting to the internet after factory resetting your modem, please call our Customer Care on 0800 022 022
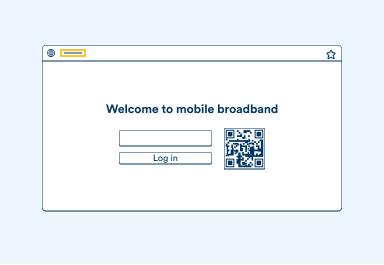
Follow these steps to access your modem to make setting changes. To do this you will require a device connected to the modem either connected via Wi-Fi or with a cable directly to the modem.
Step 1: Open a web browser (e.g. Chrome, Firefox, Edge)

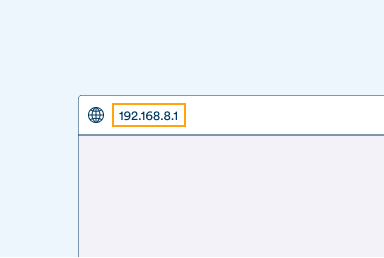
Step 2: In the address bar, type 192.168.8.1 and press enter.
Step 3: Enter your modem login info.
By default, the password will be ‘admin’. You can also find this info on the back of your modem.
Step 4: Click the ‘Log in’ button
Once logged in, you’ll see the modem management page. From here, you can make changes to your modem’s settings including changing the Wi-Fi network’s name and password, changing the modem password and more.
If this is the first time you’ve accessed your modem, or if you’ve reset the device, you’ll also be prompted to set up your modem.
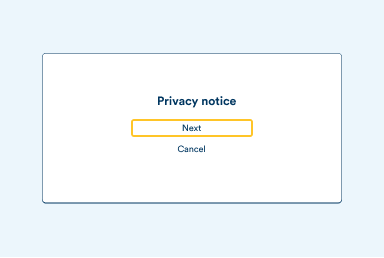
Step 5: Click ‘Next’ and ‘Agree’
- Click Next on the Mobile Broadband Devices Privacy notice after reading.
- Click Agree on the User Agreement prompt to accept the user agreement.
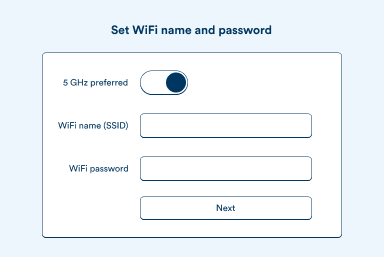
Step 6: Set preferences
- Click on the toggle ‘5 GHz preferred’
- You can enter a Wi-Fi name of your choice in the ‘Wi-Fi name (SSID)’ section or leave it as the default name found under your modem and on the stickers provided
- You can enter a new password or leave it as the default password found under your modem and on the stickers provided
- Click Next to proceed.
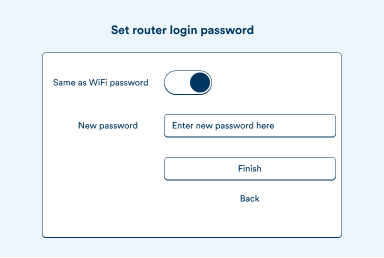
Step 7: Enter modem login password
You can enter a new password to access your modem in the ‘New password’ field or click on the ‘Same as Wi-Fi password’ to use the same password to access your modem as your Wi-Fi password.
Click Finish to go to the modem’s home page.
Follow these steps to change the Wi-Fi name and password. If you’re unsure how to access your modem, please refer to the ‘Accessing the modem’ section of this guide.
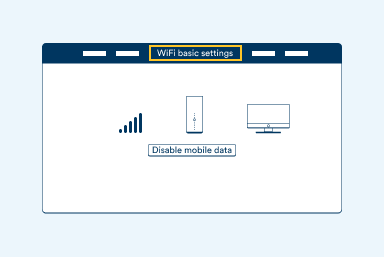
Step 1: Click on the ‘Wi-Fi Basic Settings’ tab
Step 2: Set new WiFi name and password
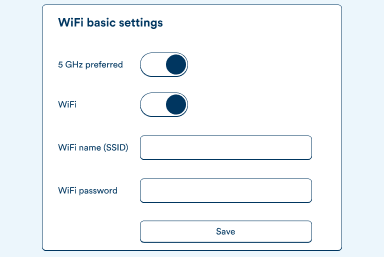
- Click on the toggle ‘5 GHz preferred’
- You can enter a Wi-Fi name of your choice in the ‘Wi-Fi name (SSID) section or leave it as the current Wi-Fi name
- You can enter a new password in the ‘Wi-Fi password’ section or leave it as the current password. Clicking on the eye symbol will reveal the current password
- Click Save to save your changes
Step 3: Wait for the process to complete
The process will take a moment to complete and you will need to reconnect your devices if you have made any changes.
Follow these steps to change the password on your modem. If you’re unsure how to access your modem, please refer to the ‘Accessing the modem’ section of this guide.
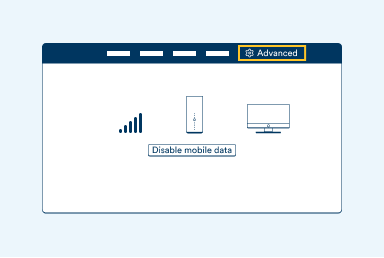
Step 1: Click on the ‘Advanced’ tab
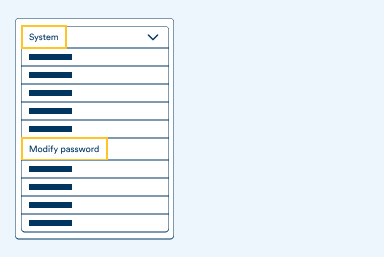
Step 2: Click on ‘System’ in the menu
In the System menu, click Modify Password
Step 3: Enter new password
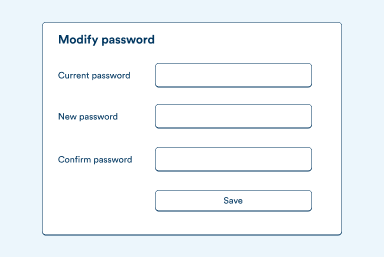
- Enter the current modem password in the ‘Current Password’ field.
- Enter your new password in the ‘New Password’ field. An indicator will appear next to this field to show you the strength of your new password
- Re-enter the new password in the ‘Confirm Password’ field
- Click Save to save your changes
Follow these steps to activate the WPS mode on your modem and connect your devices without a password.
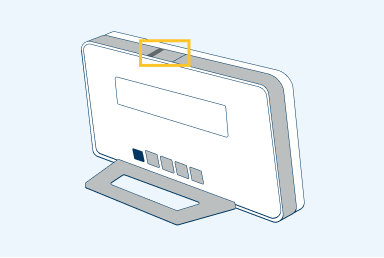
Step 1: Press the WPS button
This button should be on the top of your modem. You’ll need to hold down the button for 2 to 3 seconds.
Step 2: Connect another device
- Begin by initiating WPS on the device you are attempting to connect
- Once your modem enters the WPS mode, you have 2 minutes to connect a device
- After 2 minutes, the WPS lights will stop blinking
- The WPS function is then ready to set up a new wireless connection for the next device.
- New devices can be connected by repeating the steps above
- WPS conectivitvity is not available on devices with Android 9.0 or newer and is not supported on iOS devices
