Nokia FastMile Gateway3 5G modem guide
In this article
Getting Started
What’s in the box
- 1 x 5G FastMile G3 modem
- 1 x power adaptor
- 1 x ethernet cable
- 1 x quick start guide
- 1 x warranty and safety cards

Step 1: Position your modem
Unbox your Nokia FastMile G3 modem and place it in an open area with access to a power outlet.
Please place your modem at least 1 metre above ground level, preferably near a window or on a windowsill to help ensure a strong 5G signal.
Avoid placing your modem behind your TV or books on a shelf, inside any metal cabinet or under furniture. This obstructs the 5G signal from reaching your modem.

Step 2: Plug in and power up
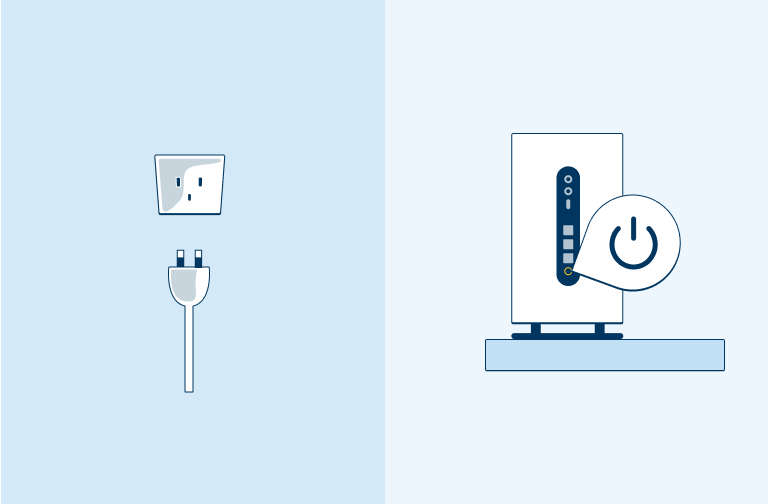
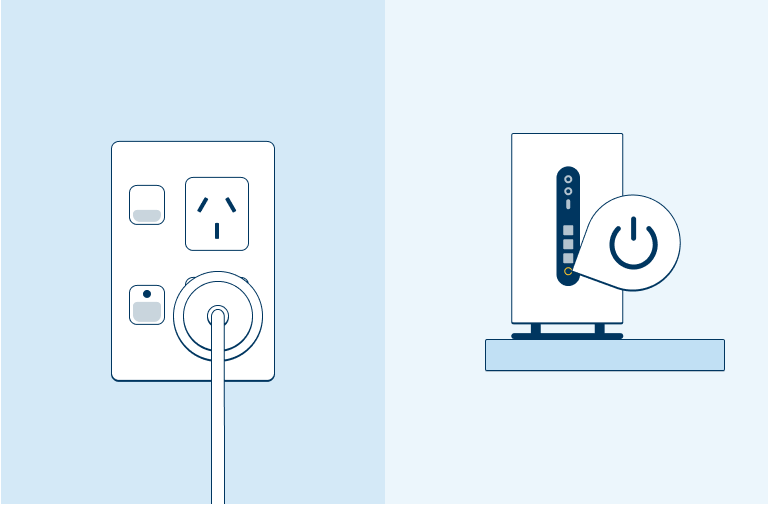
Plug one end of the white power adaptor into the back of the modem and the other end directly into a power outlet. Press the ON/OFF button and wait for about 3-4 minutes for the modem to boot up.
Step 3: Check the touchscreen
The touchscreen display on top of the modem will show you the modem booting up and connecting to our network. During this process, you’ll see the display go through a few options. You do not need to do anything during this time.
After 3-4 minutes, if the touchscreen has gone to sleep, tap it once to wake it up. You will see a notification to download the Nokia WiFi app. You can safely ignore this notification.
From here, all you have to do is swipe the screen to see your WiFi signal strength.
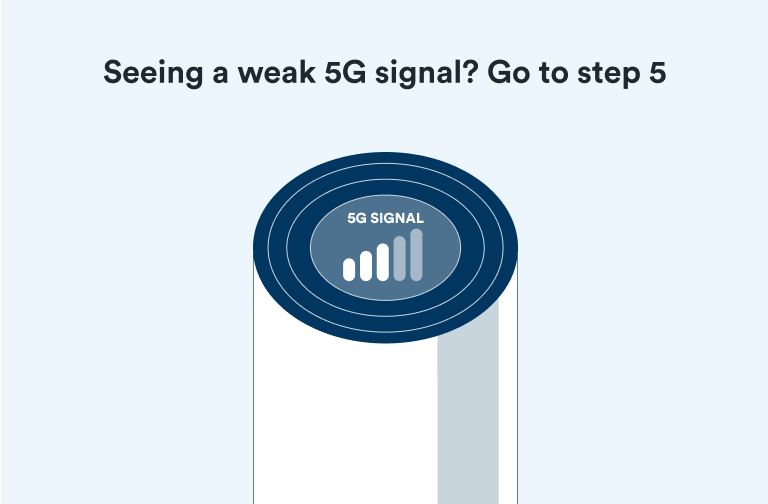
If the signal strength being shown is 4G, tap once to see your 5G signal strength.
NOTE: It’s okay if you see a 4G and 5G signal strength on your touchscreen. This is because the modem uses both our 4G and 5G networks at the same time to give you our best network performance.
Step 4: Sign in and connect
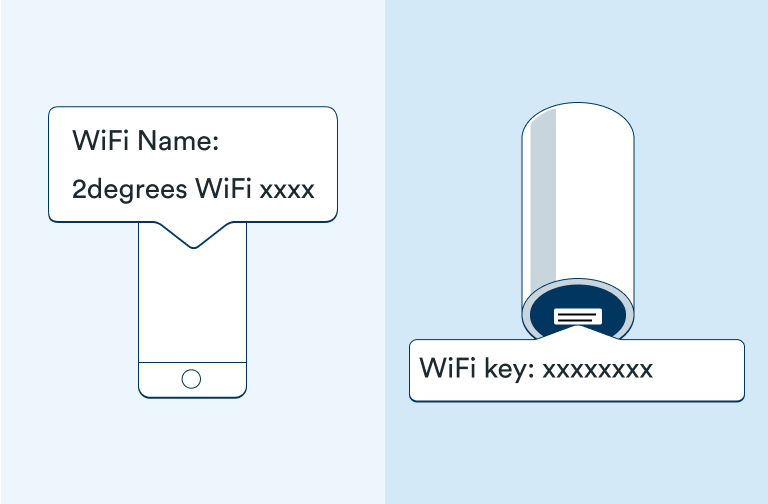
To connect, open the WiFi settings on your mobile, tablet or computer. Now look for a WiFi connection name that starts with ‘2degrees WiFi’ followed by a 4-digit unique code that matches the SSID on the bottom left of your modem.
For the WiFi password, look to the bottom-left of your modem. You’ll see a WiFi key made up of letters and numbers. This WiFi key is your password to your 2degrees WiFi network. You need to enter this password into your device to access our WiFi network.
To make additional changes to the way your modem is set up, please refer to the advanced settings
Step 5(Optional): Moving your modem to get the best signal
If your modem’s 5G signal isn’t very strong, try to reposition your modem to a different window or to a different side of the house. Once you’ve moved it, check the touchscreen on top of the modem to ensure it has selected its antennas, and that your modem has a strong signal.
Once the modem has booted up again, if the touchscreen has gone to sleep, tap it once to wake it up. You will see a notification to download the Nokia WiFi app. You can safely ignore this notification.
From here, all you have to do is swipe the screen to see your WiFi signal strength.
You can also test your signal strength by running the speed test directly from the modem’s touchscreen.
Each speed test could use between 500MB to 1GB of data, so we recommend using this feature sparingly.
NOTE: You should see four white dots. The bright white dots indicate which direction the strongest signal is coming from.

Advanced Settings
Help with managing the trickier bits of your modem like changing passwords, resetting your modem and more.
Follow these steps to factory reset your modem. Please note that by factory resetting your modem will restore any changes you’ve made to the modem back to default. This includes your Wi-Fi name and password.
Step 1: Power on your modem
Step 2: Place a paper clip or pin into the hole on the bottom of the modem - labelled ‘Reset’. You should feel a quick vibration indicating the reset process has begun.
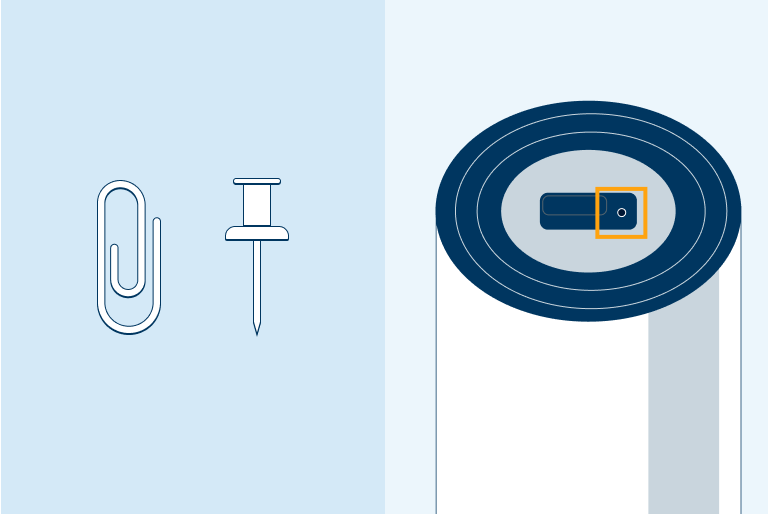
Step 3: Hold the paper clip or pin down for 30 seconds and release

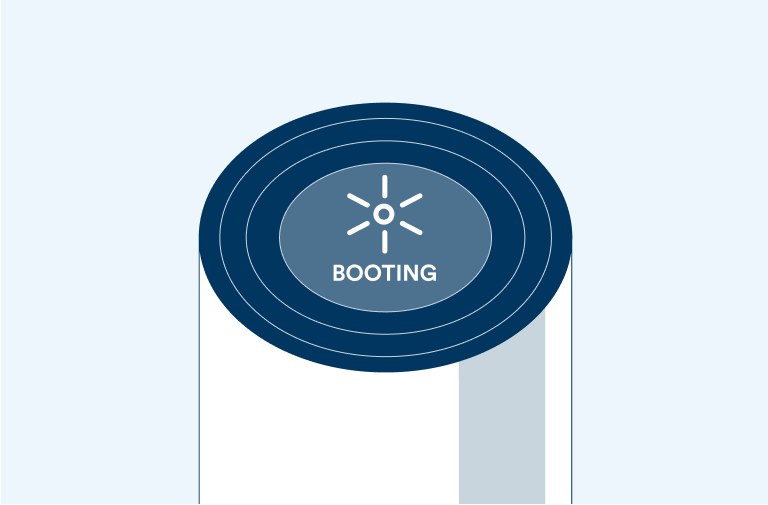
Step 4: The modem will reboot on its own
You will see the booting prompt on the display, this can take a few minutes to complete.
Do not turn of or remove the modem from power during this period.
Follow these steps to access your modem to make setting changes. To do this you will require a device connected to the modem either connected via Wi-Fi or with an Ethernet cable directly to the modem.
Step 1: Open a web browser (e.g. Chrome, Firefox, Edge)

Step 2: In the address bar, type 192.168.1.1 and press enter.
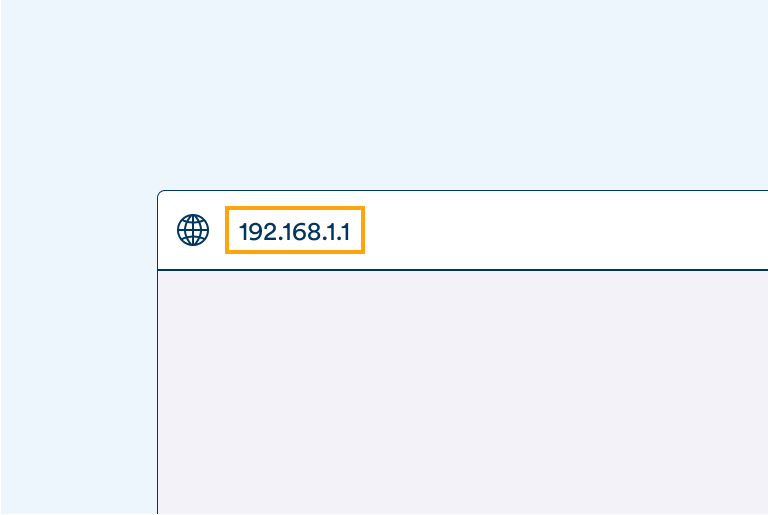
Step 3: You will see a home screen where you can view general information about your 5G connection.
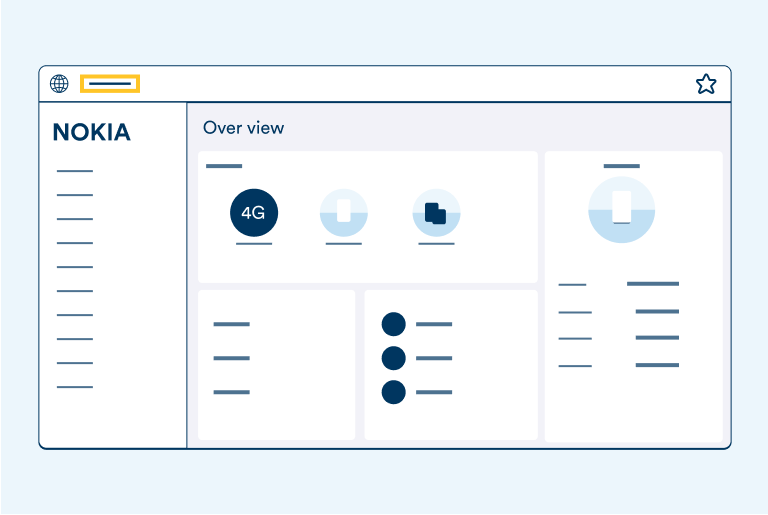
Step 4: Log in to your modem
Once you click on any of the menu items on the left of the home screen, you will be asked to log in. To do so, refer to the sticker on the bottom of your modem. You will see a login marked ‘admin’ on the right-hand side along with a password. You’ll need to use this login and password.
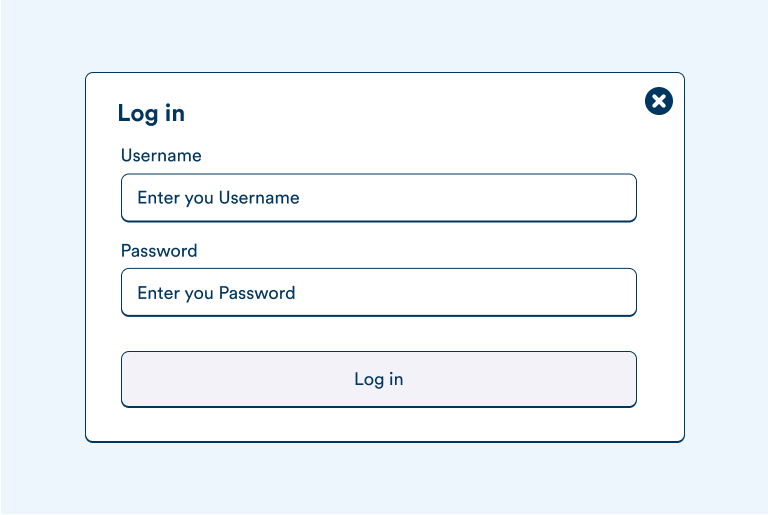
Follow these steps to change the Wi-Fi name and password. If you’re unsure how to access your modem, please refer to the ‘Accessing the modem’ section of this guide. Please note that that any changes performed under the 2.4GHz section of the settings must also be done in the 5Ghz section (as outlined below) so that the WiFi performance is consistent.
Making changes under 2.4GHz
Step 1: Click on the ‘Network’ tab on the left-hand menu
Under this tab, select ‘WiFi Networks’
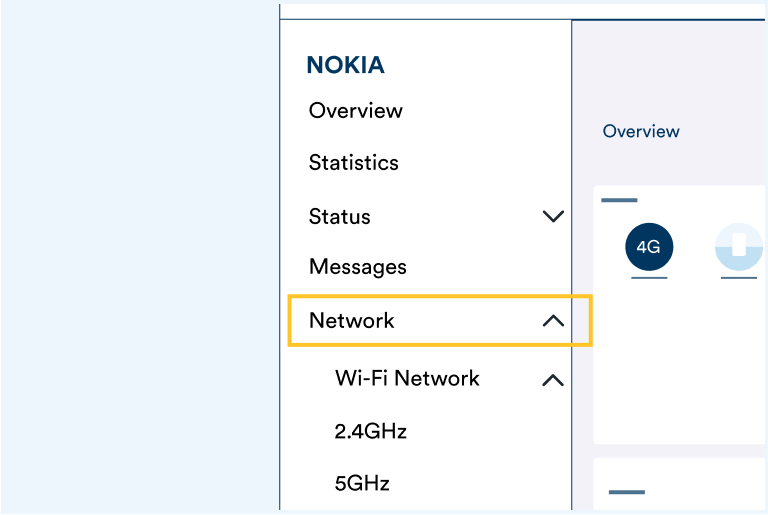
Step 2: Select ‘2.4GHz’ from the menu under ‘WiFi networks’
Once here, scroll to ‘Configure SSID 1’
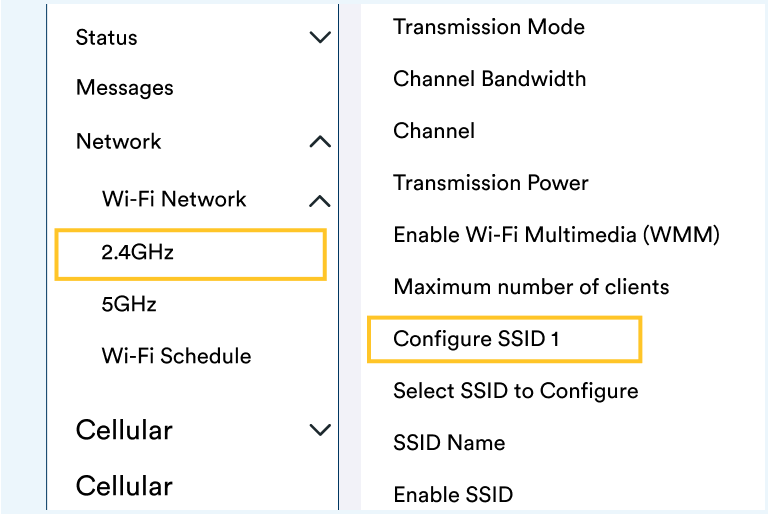
Step 3: Change WPA and encryption settings
- We recommend changing the WPA Version to WPA2/WPA3\
- We also recommend setting the encryption mode to ‘AES Only’
- Click ‘Save changes’ to make your changes permanent
NOTE: Some much older devices may not be able to connect to WiFi with WPA version set to WPA2/WPA3. If you are having this problem, please change the WPA version back to WPA2 only. But even when doing this, we recommend changing WPA Encryption Mode to AES only. This may result in security warning messages on newer iPhones, which you can safely ignore.
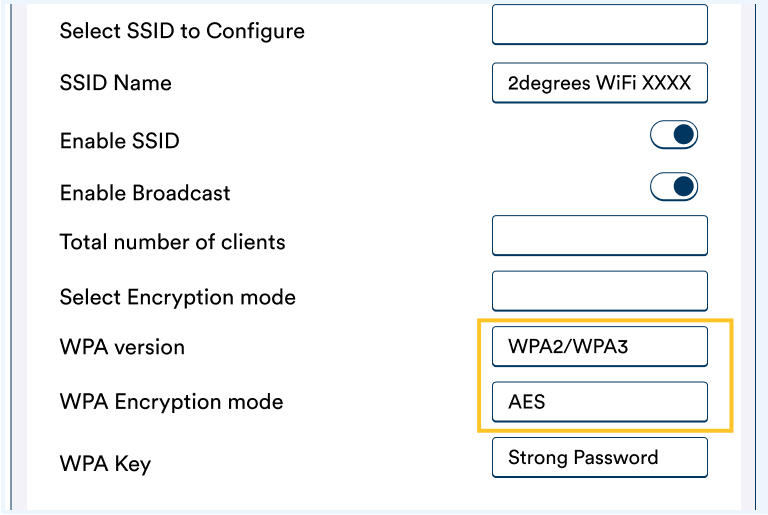
Step 4: Change WiFi name and password
- You can rename your WiFi network by entering a new name in the ‘SSID Name’ section
- You can change your password by entering a new password in the ‘WPA Key’ section
- Click ‘Save changes’ to make your changes permanent
NOTE: If you perform a factory reset, the WiFi network name, password and security changes will be reset back to the default settings.
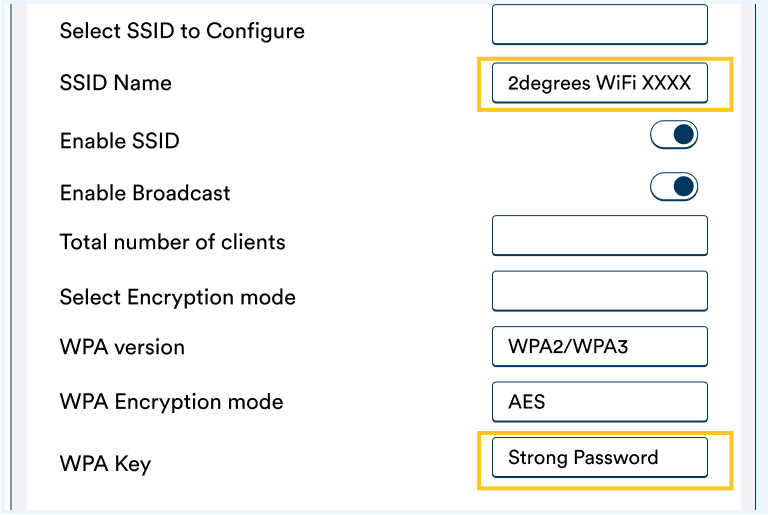
Making changes under 5GHz
Step 1: Click on the ‘Network’ tab on the left-hand menu
Under this tab, select ‘WiFi Networks’
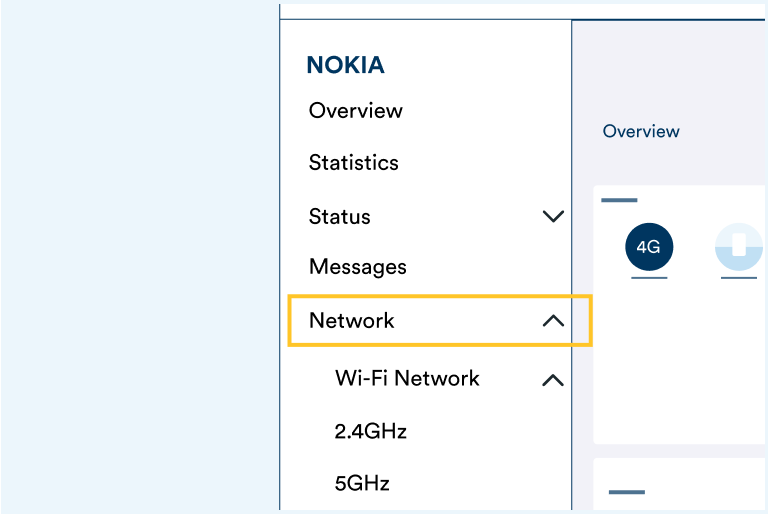
Step 2: Select ‘5GHz’ from the menu under ‘WiFi networks’
Once here, scroll to ‘Configure SSID 5’
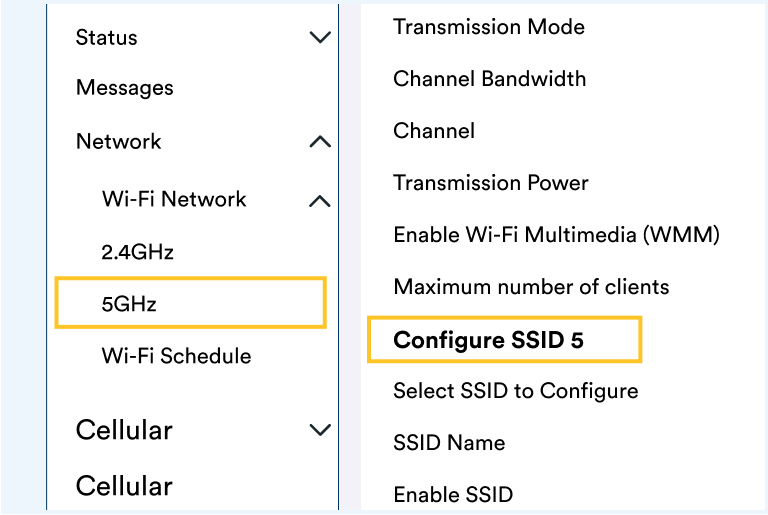
Step 3: Change WPA and encryption settings
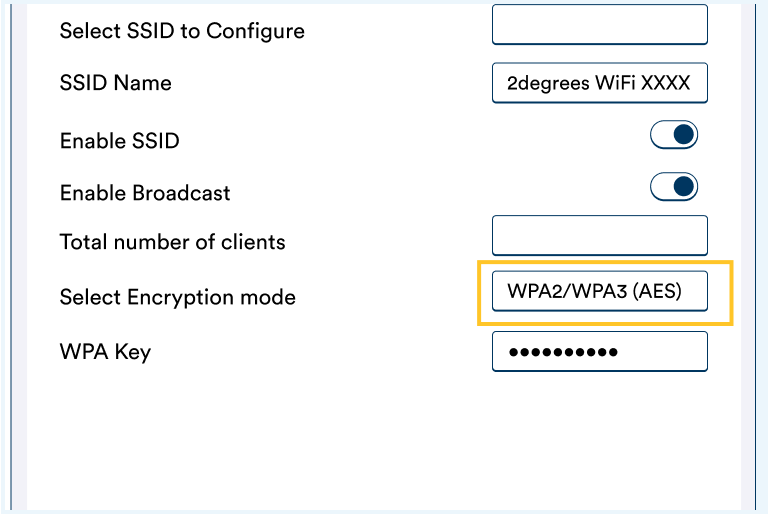
- Go to ‘Select Encryption Mode’
- From the dropdown menu, select ‘WPA2/WPA3 (AES)
- Click ‘Save changes’ to make your changes permanent
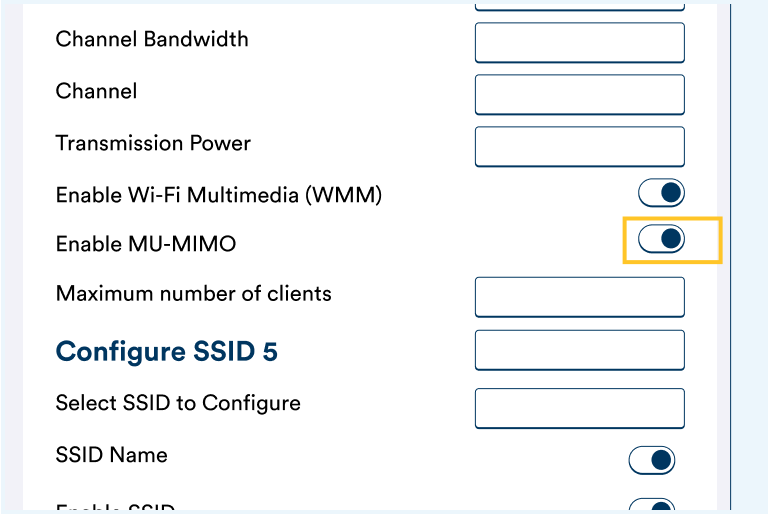
Step 4: Toggle on MU-MIMO
- Click on ‘WiFi networks’ on the left-hand menu
- Select ‘5GHz’ from the menu under ‘WiFi networks’
- Go to ‘Enable MU-MIMO’ under ‘General settings’ and turn the toggle on. This ensures maximum WiFi speeds on the latest devices that support it.
- Click ‘Save changes’ to make your changes permanent
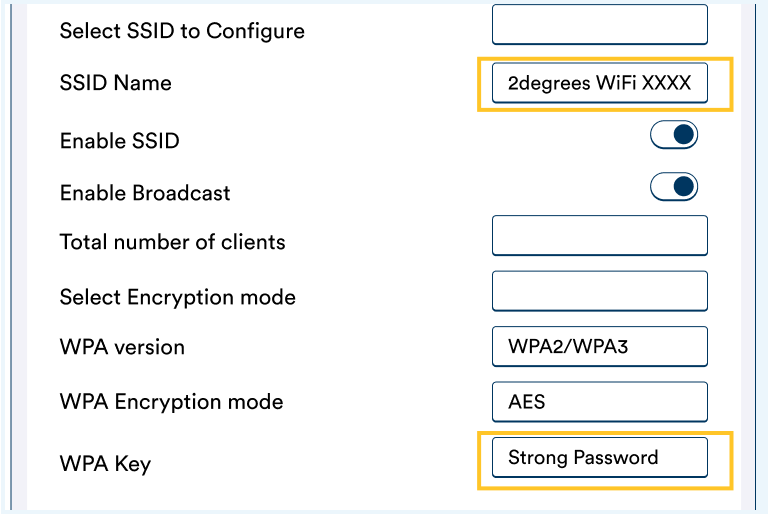
Step 5: Change WiFi name and password
- You can rename your WiFi network by entering a new name in the ‘SSID Name’ section
- You can change your password by entering a new password in the ‘WPA Key’ section
- Click ‘Save changes’ to make your changes permanent
NOTE: If you perform a factory reset, the WiFi network name, password and security changes will be reset back to the default settings.
NOTE: 2degrees operates CGNAT, so Port forwarding is not supported from external connections into your network. Static IP addresses are also not supported on the Wireless Broadband service. However port forwarding can be configured on this device for use on your internal network e.g. to access a local printer.
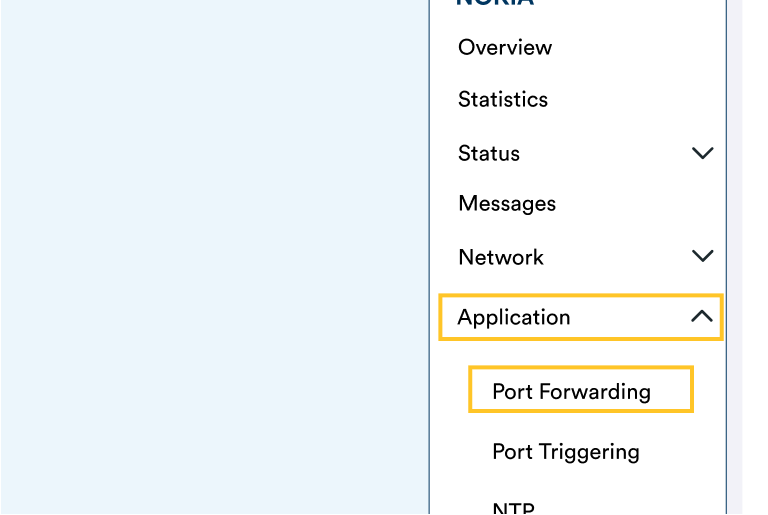
Step 1: Click on the ‘Application’ tab on the left-hand menu.
Under this tab, select ‘Port Forwarding’
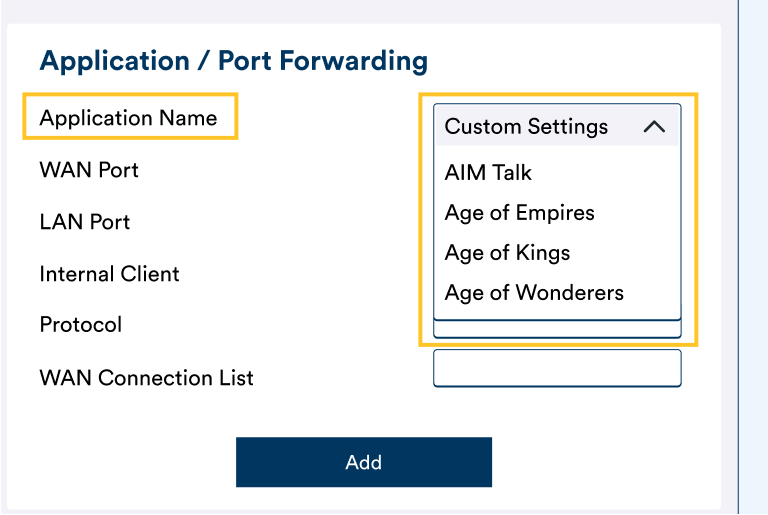
Step 2: Select the Application Name
- Click on the ‘Application Name’ section
- Click on the ‘Custom settings’ dropdown menu
- Select the required program from the menu
If the required Application is not listed, you will have to manually enter the required port details as follows:
- Select ‘WAN Port’ and manually enter the port range you wish to use
- Select ‘LAN Port’ and manually enter the port range you wish to use
- Select ‘Protocol’, open the dropdown menu, and choose between TCP, UDP or TCP/UDP
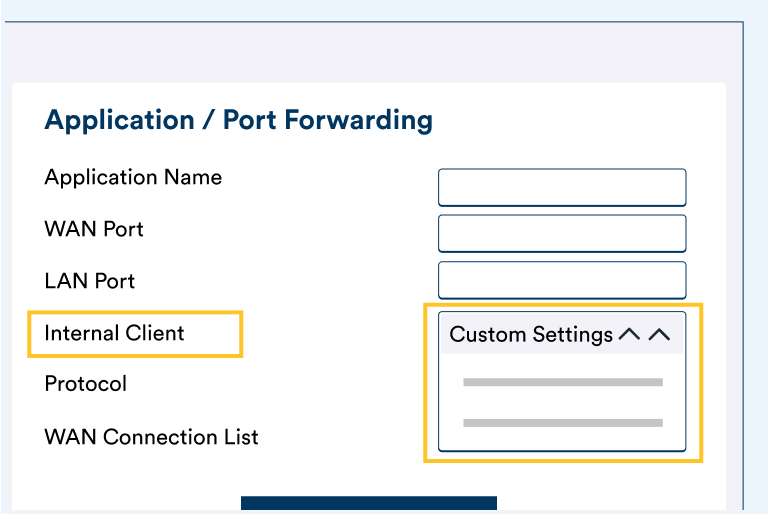
Step 3: Select the Internal Client
- Click on the ‘Internal Client’ section
- Click on the ‘Custom settings’ dropdown menu
- Select the device to be used
- Click ‘Add’ to make your changes permanent
The Nokia WiFi app gives you several advanced controls over your modem including testing your connection, Parental Controls, viewing the devices on your network, and the ability to change your WiFi network settings.
NOTE: 2degrees does not offer direct technical support for this app via our call centres. For any help with this app, you will need to reach out to Nokia directly via their customer support channels.
Step 1: Download the app
You can download the app from either the App Store or the Play Store.

Step 2: Open the app and tap ‘Get Started’
The app will then cycle through a few steps as shown. You can safely click ‘Next’ for each without taking any other action.

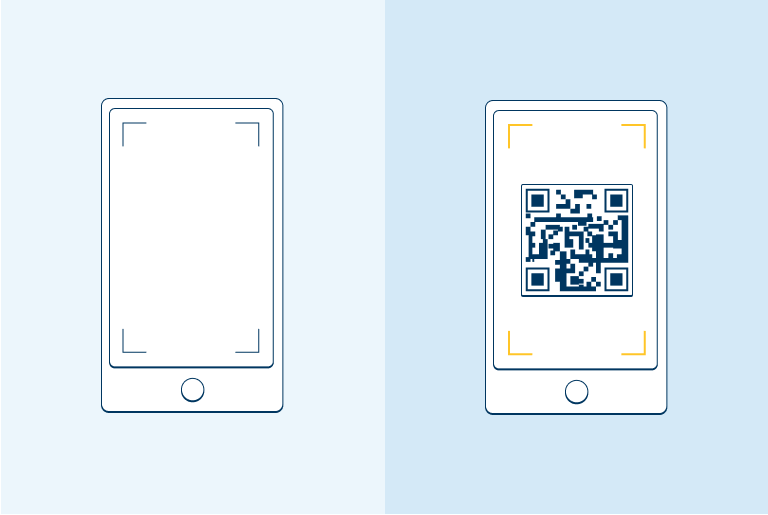
Step 3: Scan the QR code
When you see this screen, tap on ‘Next’ and your phone will open the camera automatically from within the Nokia app. NOTE: Do not leave the app to open your camera at this stage.
Locate the QR Code on the bottom of your modem
Point the phone at the QR Code and let it scan
Step 4: Check connection location
Once the QR Code is scanned, you will see a screen indicating the app is testing the current location of your modem for signal strength.
If the modem is in a good location, you will see a green circle and a message confirming the signal strength is good.
If not, move your modem to another window or a different side of your house.
After moving it and turning it back on, tap ‘reposition gateway’

Step 5: Confirm WiFi Point
After checking and confirming the signal strength, your app should show you this screen indicating a single WiFi point. This WiFi point is your Nokia 5G modem.
Tap ‘Next’ to proceed

Step 6: Change WiFi network name
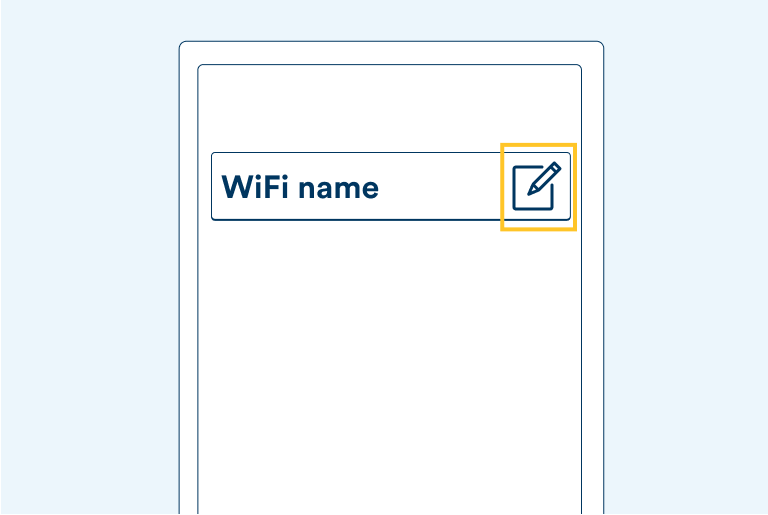
At this point, if you want to change your WiFi network name from the default one provided, tap the pencil icon, and enter a new name.
Tap ‘Finished’ when you’re done to save your changes
Once you’ve tapped ‘Finished’, the app should bring you back to the Home screen.
